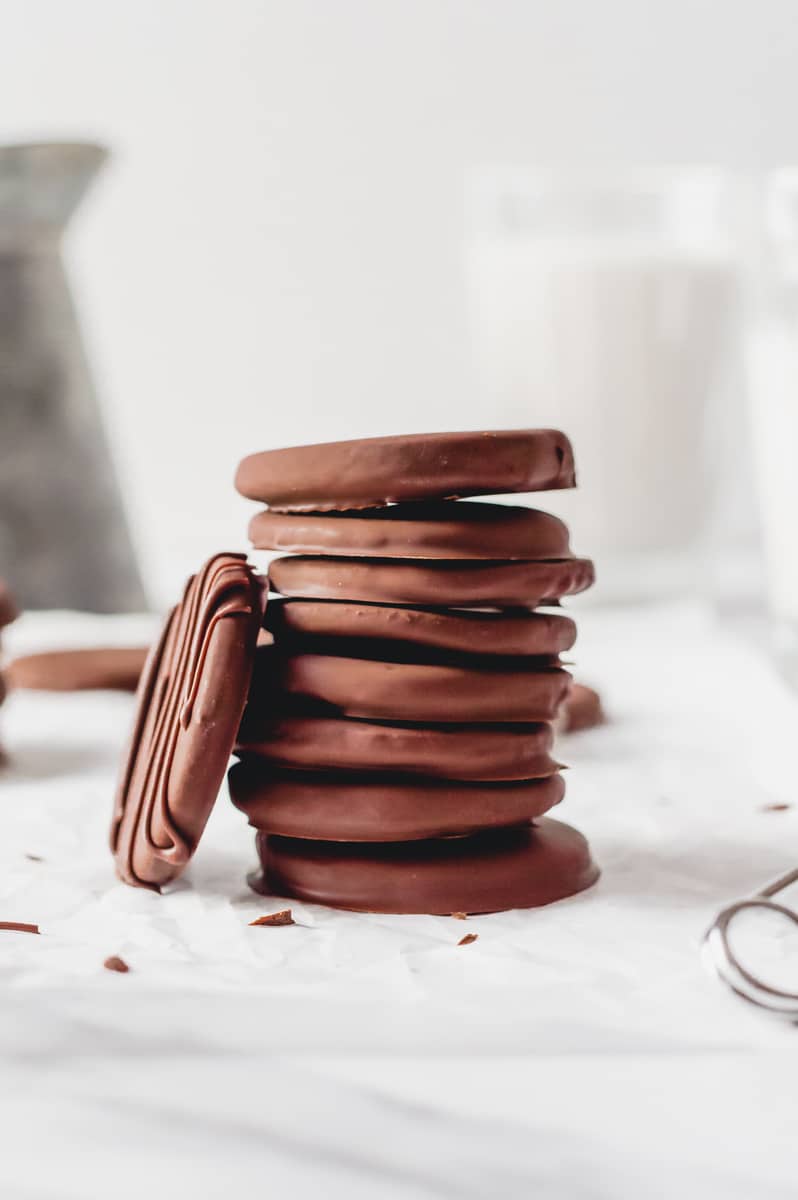
As a former Girl Scout, I have strong opinions about Thin Mints. They need to be crispy, deeply chocolatey, and just the right amount of minty. Anything less is just a plain old chocolate cookie. These homemade gluten-free vegan thin mints check every box and come together in just under 40 minutes.
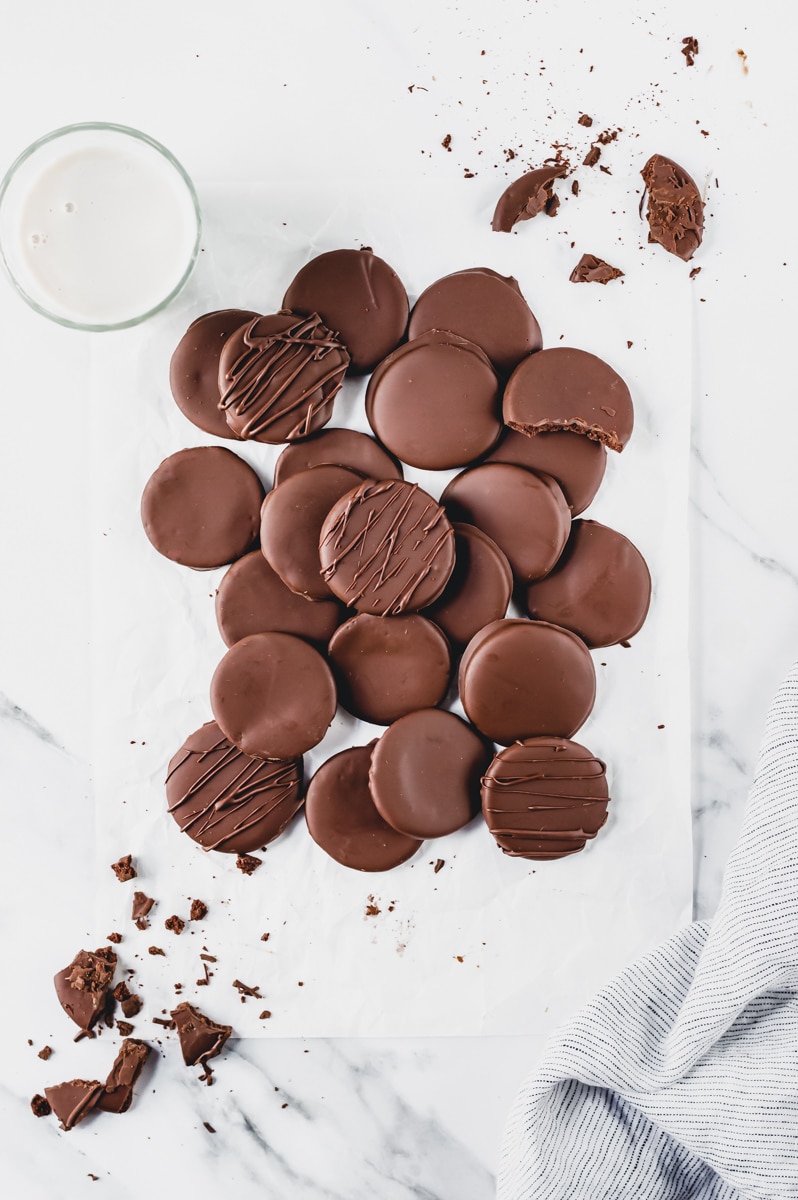
Made with almond flour, cocoa powder, and peppermint extract, they're naturally gluten-free and vegan without any complicated swaps. The simple batter, mixed with the chocolate coating, sets firm in the freezer, creating that signature crispy snap that takes you back to a simpler time.
Jump to:
Gluten-free vegan thin mint cookie ingredients
Nine simple ingredients, most of which are pantry staples. Here's what you need and why each one matters.
- Almond flour: the base of the cookie. Packed, not scooped — the density is important for getting the right dough consistency.
- Cacao powder: use a high-quality cacao or unsweetened cocoa powder for the deepest chocolate flavor.
- Arrowroot flour: our secret ingredient that gives these cookies their signature crispy snap. Do not skip it or substitute it.
- Maple syrup: just enough to sweeten and bind the dough. Don't overfill the measuring cup, as too much maple syrup will make the dough too sticky to work with.
- Vanilla extract: just a touch to round out the chocolate and mint flavors.
- Peppermint extract: start with ½ teaspoon for a classic thin mint flavor. Add an extra ¼ teaspoon if you like it extra minty.
- Salt: a small pinch enhances all the other flavors.
- Dairy-free chocolate chips: I used Enjoy Life semi-sweet mini chocolate chips. Any dairy-free chocolate works, just make sure it's a chip or chunk that melts smoothly.
- Coconut oil: used to help the chocolate melt evenly and set perfectly for that nostalgic snap.
How to make gluten-free vegan thin mint cookies
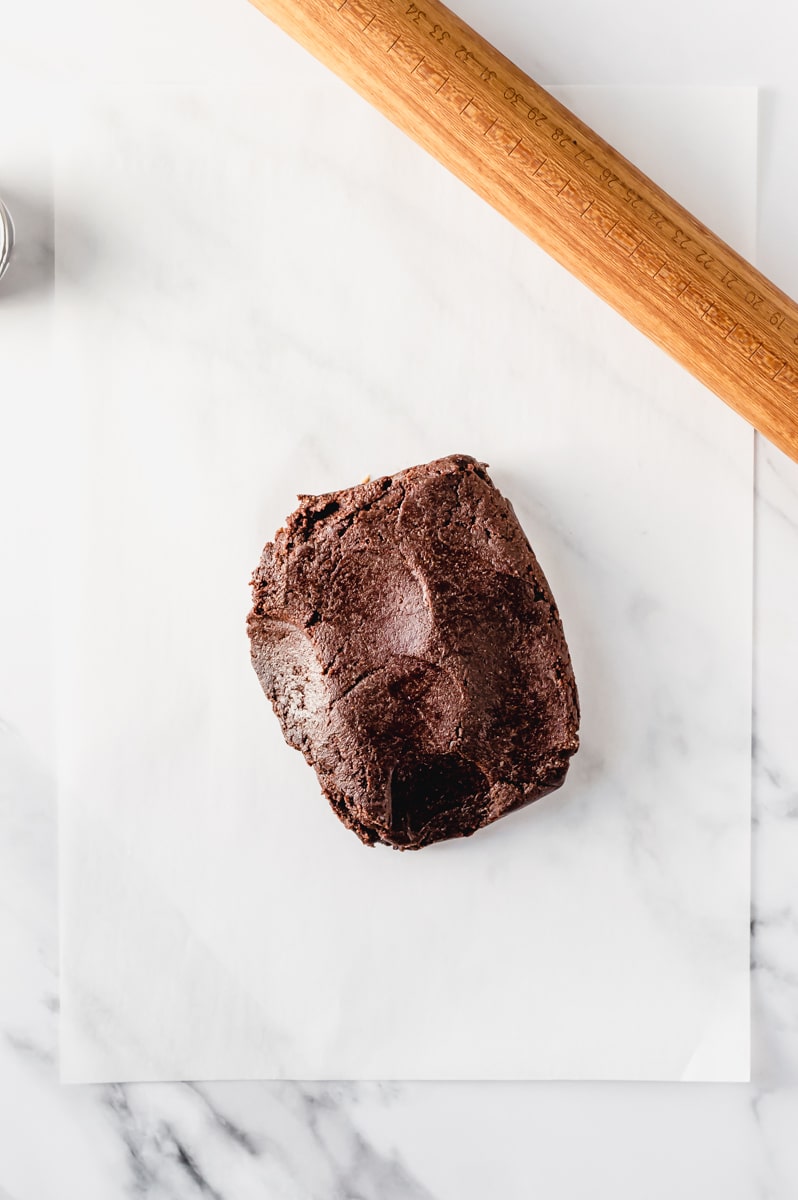
1. Make the dough
Add all cookie ingredients to a food processor and blend until a ball forms (about 15-30 seconds). The dough will be slightly sticky but should hold together when pressed. If it feels too wet, add a small pinch of arrowroot flour. If too dry, add a tiny splash of water.
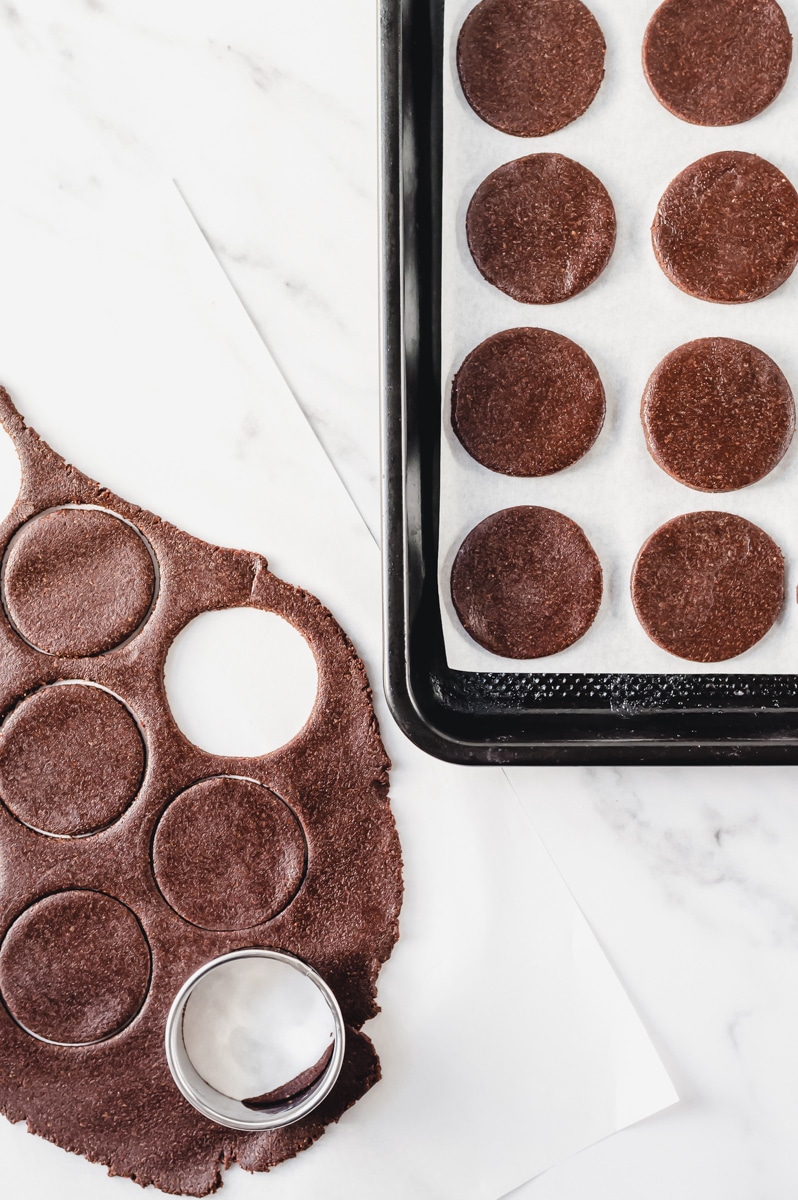
2. Roll and cut
Transfer the dough to a piece of parchment paper. Place a second piece on top and use a rolling pin to roll to about ¼ inch thick. Thinner cookies will be crispier, and thicker cookies will be slightly softer. Cut into circles using a 1.6 inch round cookie cutter or something similar (shot glass, cap from a vitamin bottle, etc.). Re-roll the scraps and repeat until all the dough is used. Place cut cookies on a parchment-lined baking sheet. They won't spread, so you can place them close together.
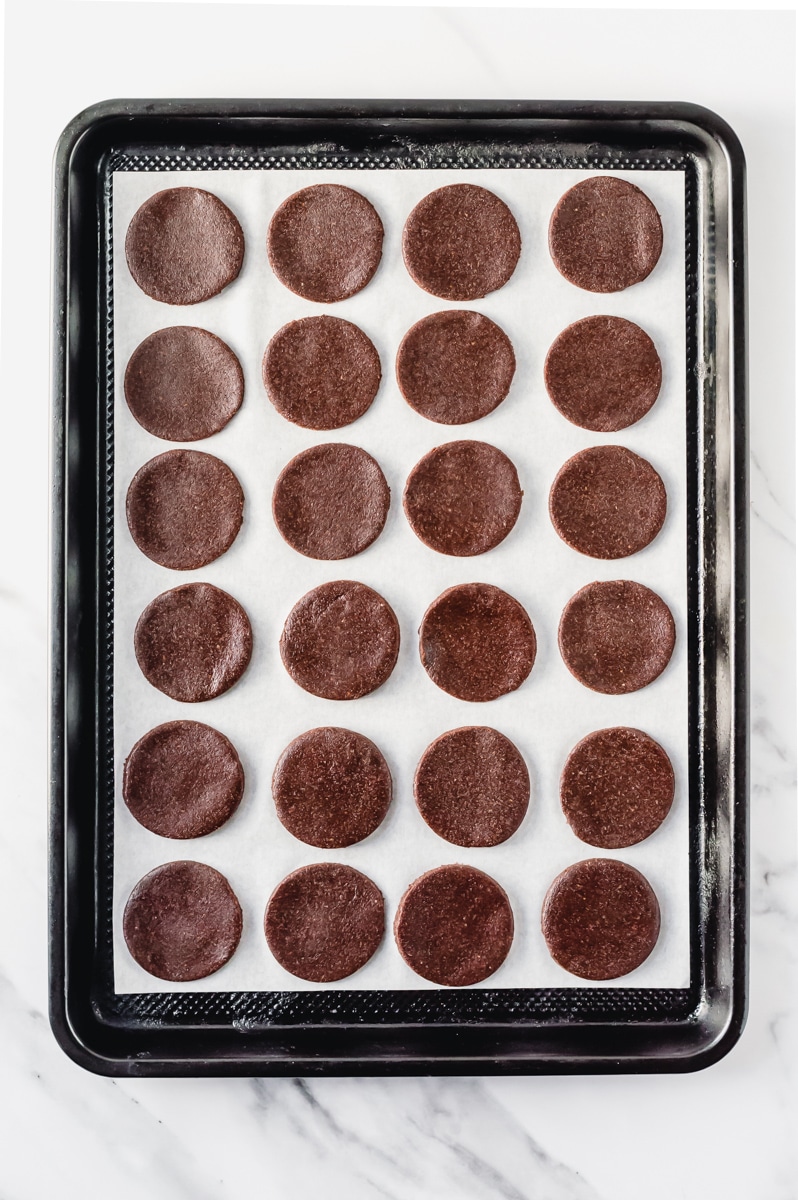
3. Bake and cool
Bake at 350°F for 8 minutes - 10 minutes, depending on the thickness of the cookie. Remove from the oven and slide the parchment paper off the baking sheet onto the counter. If any cookies puffed up slightly during baking, gently press them down with a fork while still warm. Let cool completely for at least 10 minutes. Do not dunk them in chocolate while they are still hot — the chocolate won't set properly.
4. Melt the chocolate
Add the chocolate chips and coconut oil to a microwave-safe bowl or measuring glass. Microwave in 30-second intervals, stirring between each, until fully melted and smooth. For the last 30 seconds, check every 10-15 seconds to prevent burning.
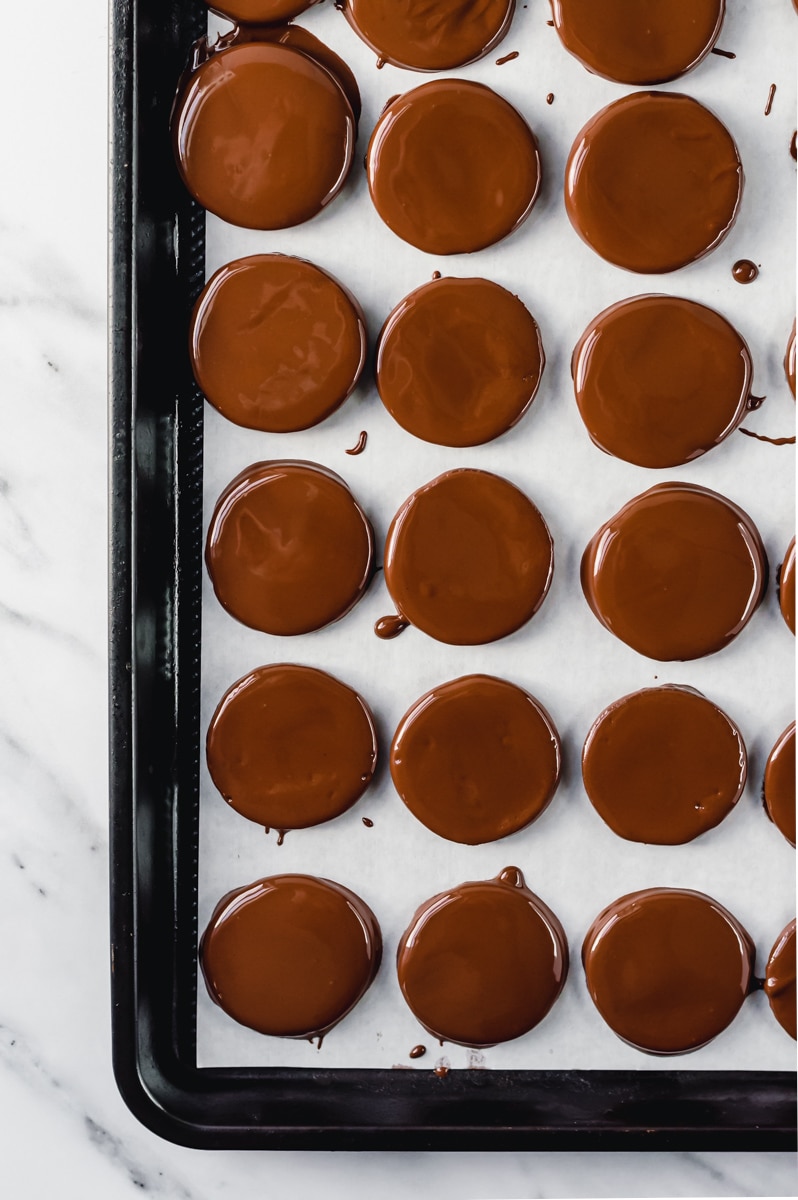
5. Coat and freeze
Using a fork, dip each cookie into the melted chocolate, flipping to coat both sides. Tap the fork gently against the side of the bowl to knock off any excess chocolate before placing on the parchment-lined baking sheet. Repeat until all cookies are coated. Freeze for at least 20 minutes or until the chocolate is fully set.
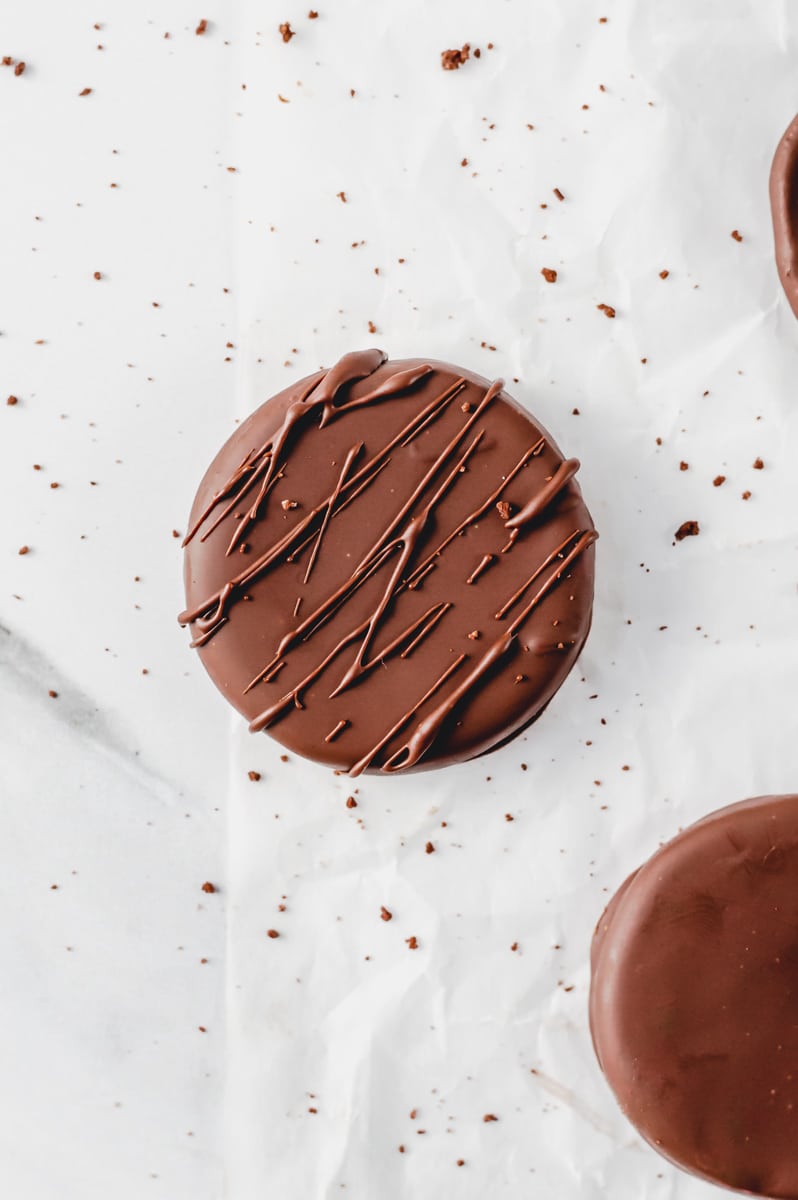
6. Optional chocolate drizzle
After 10 minutes in the freezer, remove the cookies and drizzle any remaining melted chocolate over the top using a fork. Move your wrist back and forth quickly for thin, even drizzle lines. Return to the freezer for the remaining 10 minutes.
Tips for making the best gluten-free vegan thin mint cookies
- The dough consistency: it should feel slightly tacky but not wet. If it's sticking to everything, dust lightly with arrowroot flour. If it's crumbling and dry, add a tiny splash of water or an extra drop of maple syrup and pulse again.
- Use a 1.6 inch round cookie cutter: it's the perfect size for a classic thin mint. No cookie cutter? The cap from a vitamin bottle or a shot glass works just as well. If the dough sticks to the cutter, rinse and pat dry between cuts.
- Tap off the excess chocolate: after dipping each cookie, gently tap the fork against the side of the bowl before placing it on the parchment paper. This prevents a thick puddle of chocolate from forming under each cookie and keeps them looking clean and irresistible.
- Store them in the freezer: these cookies are best straight from the freezer. The cold element makes that crispy snap that much more satisfying.
Gluten-free vegan thin mint cookie variations and substitutions
Substitutions
- Almond flour: cashew flour works as a direct substitute with a slightly different flavor profile.
- Arrowroot flour: tapioca flour is the best substitute. Do not omit this ingredient entirely as it's what keeps the cookie light and crisp.
- Maple syrup: agave syrup should work as a substitute in the same quantity, though I haven't tested it myself. The maple flavor does add a subtle depth so the taste will be slightly different.
- Peppermint extract: start with less if you're sensitive to mint, as a little goes a long way.
Variations
- Extra minty: add an additional ¼-½ teaspoon of peppermint extract to the dough for a more intense mint flavor.
- Triple chocolate: mix a small handful of dairy-free chocolate chips directly into the dough before rolling, or top each chocolate-coated cookie with shaved dark chocolate before freezing.
- Coconut dip: after coating in chocolate, immediately dip each cookie into unsweetened coconut flakes before placing on the baking sheet. Add a squeeze of lime zest for a fun tropical twist.
- Superfood boost: sprinkle with hemp seeds after coating in chocolate and before freezing for an extra nutrient boost.
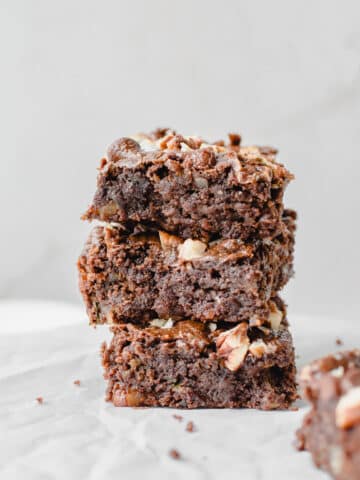
Looking for more vegan chocolate desserts? These gluten-free vegan brownies, chocolate peanut butter bark, and monster cookie bars are all worth a spot in your rotation.
How to store gluten-free vegan thin mint cookies
These cookies store extremely well and are one of the many reasons they're worth making in a big batch.
- Freezer (my preferred method): Store in an airtight container for up to two months. Enjoy them straight from the freezer for perfectly crisp bites or let them sit on the counter for 5 minutes if you prefer them slightly less cold.
- Refrigerator: store in an airtight container for up to one week. They'll still be delicious but slightly less crispy than straight from the freezer.
- Room temperature: not recommended. The chocolate will soften, and the cookies will lose their crisp fairly quickly.
📋 Recipe

Gluten-Free Vegan Thin Mint Cookies
Equipment
- food processor
- 10x15 baking sheet + parchment paper
- measuring cup and spoons
- Rolling Pin
- 1.6 inch round cookie cutter
Ingredients
Cookie
- 1 cup almond flour, packed
- ¼ scant cup cacao or unsweetened cocoa powder
- ¼ scant cup arrowroot flour
- ¼ cup maple syrup (just under being level, do not overflow the measuring cup or the cookies will be too sticky)
- ½ teaspoon vanilla extract
- ½ teaspoon peppermint extract
- ¼ teaspoon salt
Chocolate Coating
- 1 cup dairy-free chocolate chips
- 1 tablespoon coconut oil
Instructions
- Preheat oven to 350°F and line a baking sheet with unbleached parchment paper.
- Combine cookie ingredients: Add all cookie ingredients to a food processor and blend until a ball forms, about 15-30 seconds. The dough should feel slightly sticky, but not wet.
- Roll dough: Transfer the dough to a piece of parchment paper. Place a second piece on top and roll to about ¼ inch thick. Cut into circles using a 1.6 inch round cookie cutter. Place on the lined baking sheet - they won't spread so you can place them close together. Re-roll scraps and repeat until all dough is used. I made 18-26 cookies (amount will differ based on thickness and size of cookie cutter). I prefer them on the thinner side and get around 24.
- Bake for 8-10 minutes depending on thickness. Remove from the oven and slide the parchment paper off the baking sheet onto the counter. If any cookies puffed up, gently press down with a fork while still warm. Cool completely for at least 10 minutes before dipping in chocolate.
- Melt chocolate: when the cookies are almost done cooling, add chocolate chips and coconut oil to a microwave-safe bowl. Microwave for 1 min 30 seconds, stirring every 30 seconds to ensure even melting. To prevent burning, check every 10-15 seconds for the last 30 seconds.
- Coat cookies: Using a fork, dip each cookie into the melted chocolate, flipping to coat both sides. Tap the fork against the side of the bowl to remove excess chocolate. Place back onto the parchment-lined baking sheet. Repeat until all cookies are coated. Freeze for at least 20 minutes or until the chocolate is completely hardened.
- Optional chocolate drizzle: after 10 minutes in the freezer, remove the cookies and drizzle any remaining chocolate over the top using a fork, moving your wrist back and forth quickly for thin drizzle lines. Return to the freezer for the remaining 10 minutes.
Notes
- Cookie cutter: a 1.6 inch round cutter is ideal. No cutter? Use a shot glass or the cap from a vitamin bottle.
- Dough too sticky: dust lightly with arrowroot flour. Too dry: add a tiny splash of water or an extra drop of maple syrup.
- Peppermint extract: start with ½ teaspoon for classic thin mint flavor. Add an extra ¼ teaspoon if you like it extra minty.
- Storage: best stored in the freezer in an airtight container for up to two months. Enjoy straight from the freezer for best results.
If you made these and can't stop eating them straight from the freezer, leave a star rating below. I genuinely love hearing your feedback and can't wait to chat! xo, Morgan


Milo's Mom says
Yummy 😀These thin mints are my favorite Girl Scout cookie and they look awesome! On my honor I'll try this amazing recipe to taste the chocolaty goodness!